

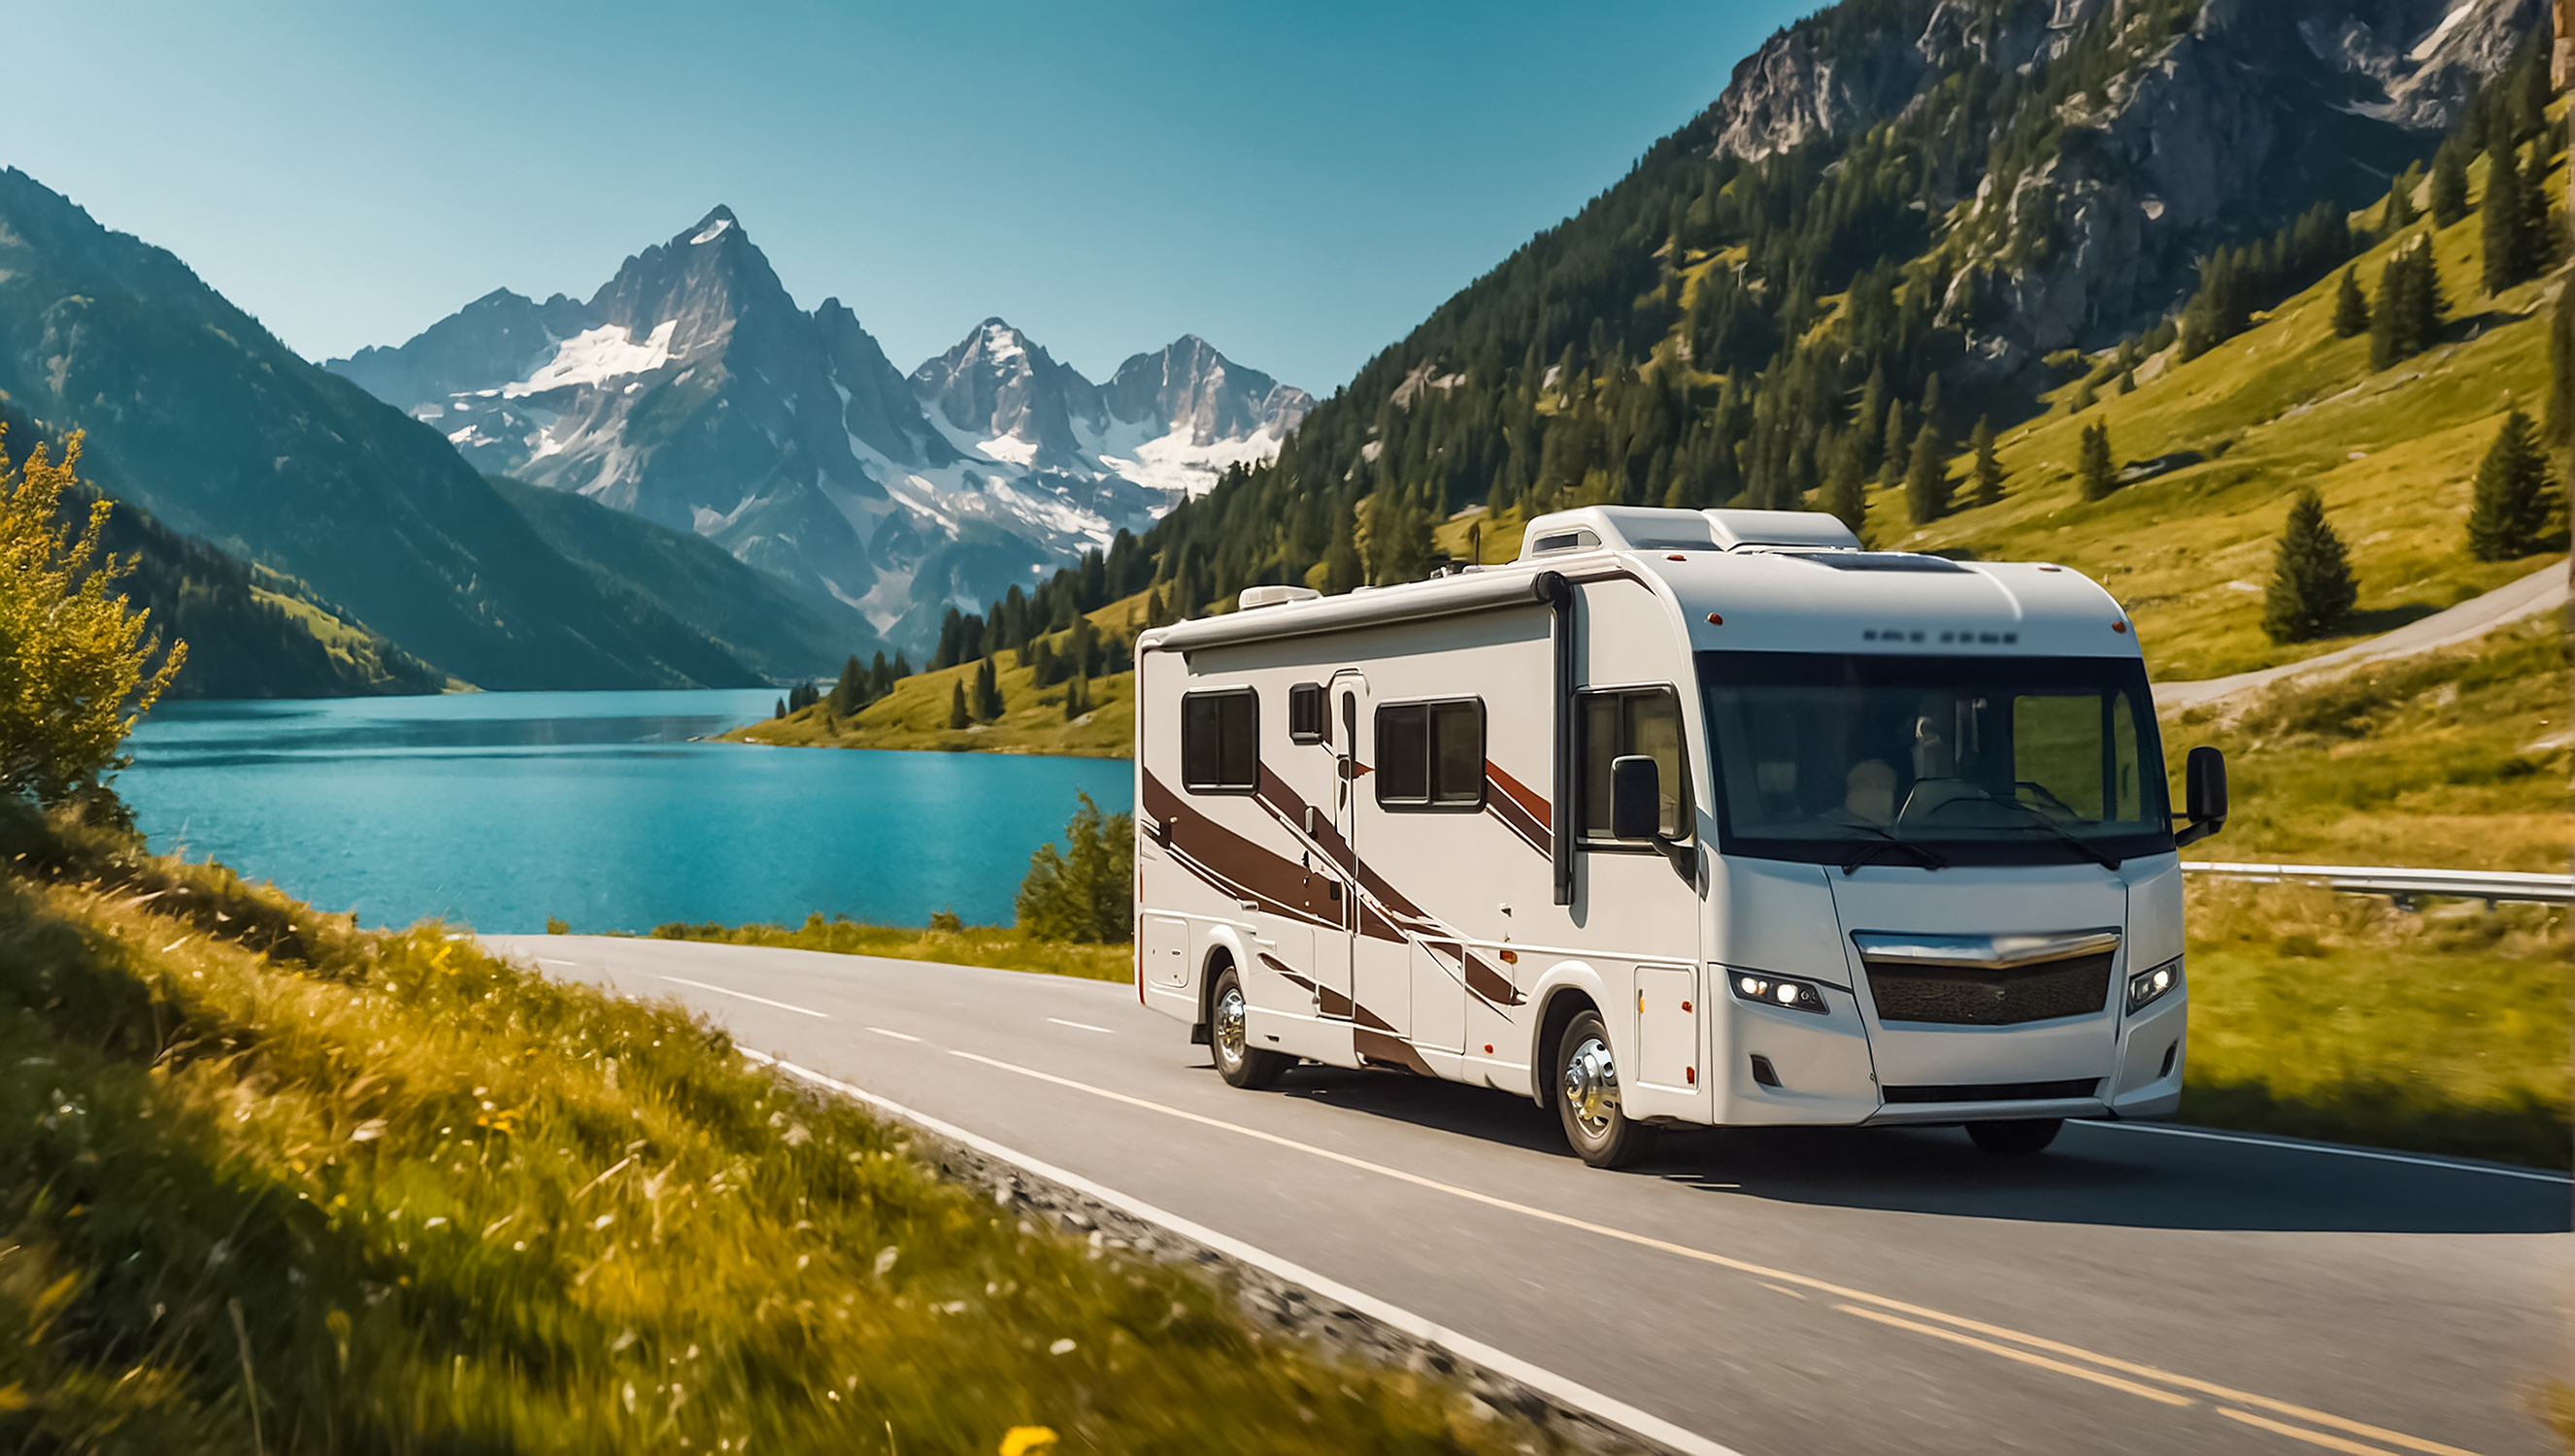
7 Critical RV Repair Tips Every Owner Needs Before Hitting the Road
- Pro Tech RV
- Mar 11
- 17 min read
With 72 million Americans planning to take an RV trip in the next year, understanding RV repair fundamentals has never been more critical for owners. You might handle simple maintenance yourself or need to find reliable rv repair shops. Either way, knowing what to check before departure can prevent breakdowns that get pricey on the road.
In this piece, we'll walk you through seven rv repair tips covering rv roof repair and electrical systems to brake maintenance. You'll also learn when to tackle repairs yourself and when to contact a certified rv technician for professional rv repair service.

Why Pre-Trip Inspections Matter
Damaged RV steps, TV antennas, power cords and awnings appear too often on the road. Owners skip pre-trip checks. A systematic inspection checklist prevents these issues and saves both time and money. A full pre-trip inspection takes 30 to 50 minutes. This small investment protects against breakdowns that can derail an entire trip.
Pre-trip inspections catch problems before they escalate and prevent visible damage. Low fluid levels in the engine or transmission will strand you faster than any other mechanical issue. Heavy motorhomes and towing vehicles place considerable strain on drive-train components. These checks are non-negotiable for safe travel.
Airlines still rely on manual pre-trip checklists for their sophisticated aircraft. Pilots physically walk around planes on the tarmac before each flight and visually inspect every component. The aviation industry maintains these standards. RV owners should adopt similar practices for their homes on wheels.
Critical Areas to Inspect Before Every Trip
Tires just need your first attention. RV tires lose air pressure at a rate of 2 to 3 psi per month when sitting in storage. Both over-inflation and under-inflation lead to tire failure. Check and inflate tires to proper pressure before leaving. Always measure when tires are cold and before traveling more than one mile. The quickest way involves weighing your RV and consulting the tire manufacturer's load and inflation tables based on actual loads.
Fluid levels ask for equal scrutiny. Check engine oil, transmission fluid, radiator coolant reservoir, power steering fluid and brake fluid levels in motorized RVs or tow vehicles. Look under the vehicle for signs of leaks. Consult your owner's manual for specific checking procedures. If a fluid level appears low, determine the cause before departure.
Hitch-work, brakes and lights just need full verification whether towing a car behind a motorhome or pulling a trailer. Double-check all hitch components using a checklist. This ensures nothing gets overlooked. Once everything is securely fastened and lights are tested, perform a brake test. Pull forward slightly and tap the brakes. You should feel the trailer brakes or dinghy brakes engage and slow the vehicle down.
Walk through the RV's interior before leaving. I always find something unsecured or a latch left unlocked during this step. Check all cabinet doors, the refrigerator and sliding doors. Secure computers, TVs and other loose items. Verify that all appliances are turned off. Test fire extinguishers, smoke detectors and carbon monoxide detectors to confirm they're functional.
Battery inspection matters more than most owners realize. Check for corrosion on terminals and ensure connections are tight. If batteries exceed 4 to 5 years old, replace them before a trip. Check battery cell fluid levels for proper operation.
Safety precautions are the foundations of any inspection. Park on level ground to ensure accurate readings. Chock your wheels to prevent rolling, even with the parking brake engaged. Disconnect from shore power before touching electrical components. Turn off propane at the tank before checking gas lines or appliances.
When to Contact an RV Repair Service
A final walk-around serves as your last line of defense. After completing the checklist, walk around the RV one more time. Look on top and under the RV. Physically touch storage doors to confirm they're secure. Verify that stabilizer jacks are stowed, the awning is in travel position with latches secured and steps are retracted. Check that all hitch-work is connected properly.
Schedule a professional inspection for extended trips. This catches issues that simple checks might miss. An rv repair service can identify problems that ask for specialized equipment and training to detect. When fluid leaks persist, brake systems show unusual wear, or electrical components malfunction repeatedly, contact a certified rv technician. Don't attempt complex repairs yourself.
Certain warning signs just need immediate professional attention. Frame damage, internal water damage, electrical irregularities and transmission problems ask for expertise beyond basic maintenance. Finding qualified rv repair shops near me before departure gives you a backup plan if issues arise during travel.
Understanding RV Roof Damage
Your RV roof endures constant assault from the elements year-round. Rain, UV rays, wind, falling debris and snow create wear and tear that causes leaks and pricey repairs if you leave them unaddressed. Roof leaks rank among the most common problems RV owners face. Understanding what causes this damage helps you catch issues before they get worse.
Weather exposure stands as the primary culprit behind roof deterioration. Constant exposure to sun, rain and wind causes materials to break down over time. UV rays prove destructive and break down chemical bonds in rubber roofing materials. This causes them to become brittle and crack. Prolonged exposure causes fading, chalking and brittleness that compromises the roof's integrity and increases vulnerability to leaks.
Physical damage from tree branches and debris creates another threat. Parking under trees or driving through areas with low-hanging branches can puncture or tear the roofing material and create openings for water entry. Beyond obvious impacts, aging materials degrade over the years naturally. The materials become brittle and lose their ability to protect against leaks and other damage.
Deteriorated seals around vents, skylights and air conditioners represent weak points in any RV roof. Sealants and caulk break down over time and allow water to penetrate the RV. Even a small gap can create a slow leak that's not obvious from inside the vehicle. Poor maintenance makes these issues worse, as overlooked maintenance problems turn into major ones.
DIY RV Roof Repair vs Professional Help
Deciding between handling rv roof repair yourself or hiring professionals requires honest assessment of several factors. Skills and experience matter. A DIY approach may work if you have repair experience and feel comfortable working on roofs. Calling an expert proves wiser if not.
The complexity of the issue determines the appropriate approach. Simple problems like small leaks are often manageable on your own. Major damages require professional expertise to ensure safety and quality. Leaving it to professionals prevents serious consequences for larger repairs, especially anything with your roof. A poorly executed roof repair could cause mold, mildew, dry rot and serious interior damage during the next heavy rain. Even small mistakes result in expensive consequences down the road.
Professional services offer distinct advantages by comparison. Trained technicians bring expertise to identify issues you might miss and prevent further damage and pricey repairs later. Safety ranks as another vital advantage, as roof repairs can be dangerous, especially on larger RVs. Professionals know how to work safely at heights and manage risks.
Many professional services offer warranties on their work. They'll fix it at no extra cost if something goes wrong. This protection isn't available for DIY repairs typically. Professional teams use high-quality materials tailored for RV roofs, unlike generic products found at local hardware stores. These materials withstand unique conditions RVs face, including UV exposure and weather changes.
Preventive Maintenance for Your RV Roof
Inspect your roof at least once a year. Checking more often proves wise for materials like aluminum. Most owners inspect while cleaning and examine every single sealant and seam. All it takes is one small opening to cause damage that spreads across the entire roof. Inspect your RV roof at least twice a year, before and after winter ideally. Check every three months and after every long trip.
Look for cracks, dents and peeling during inspections. Schedule repairs to avoid major issues if you see the smallest sign of wear. Pay careful attention to areas prone to cracks and mold growth, including the AC unit, vents, roof rack, skylights, ladder mounts and gutters.
Resealing adds extra protection to keep the roof in good shape even if your roof looks fine during inspection. Sealing products exist for aluminum, fiberglass and rubber. Resealing is recommended once or so a year. Resealing is recommended every 1-3 years as a general rule. But regular inspections help catch issues early before they turn into bigger problems.
The sun's harsh UV rays can damage your roof, especially if made with TPO rubber. Placing a cover over your RV while not in use creates a protective shield that prevents the sun from fading and cracking your roofing material. It also keeps out sap and other debris. Cleaning and resealing work wonders for roof maintenance. An rv repair service can reseal and recoat your roof with products designed for your specific roofing type.
Electrical System Troubleshooting and RV AC Repair

Electrical System Troubleshooting and RV AC Repair
Common Electrical Issues in RVs
Battery-related issues represent the most frequent electrical problems in recreational vehicles. Sulfation occurs at the time batteries remain discharged for extended periods, creating lead sulfate crystals that reduce battery capacity permanently. Deep discharge damage happens at the time batteries drain below safe levels, reducing their capacity to hold a charge permanently. Corroded terminals create resistance that prevents proper charging and can cause dangerous arcing.
You're operating a whole household on power supplied by 4 batteries. That's the biggest problem with placing too much load on your power supply. Overloaded circuits occur at the time too many appliances draw power at once, causing breakers to trip or fuses to blow. Watch for warning signs like discolored outlets or burning smells, which indicate dangerous overheating.
Faulty wiring represents a major category of electrical problems. The constant movement and vibration experienced during travel can loosen connections, damage insulation and create dangerous short circuits. Loose connections develop over time as wire nuts work free and terminal screws become loose. These connections create heat buildup that can damage surrounding components and cause fires potentially. Damaged wire insulation often results from rodent activity, sharp edges or normal wear over time.
Inverters and converters present unique challenges. Inverters convert 12-volt DC battery power into 120-volt AC power for standard household appliances. Converters transform 120-volt AC shore power into 12-volt DC power for charging batteries. Inverter failures often stem from overheating caused by inadequate ventilation or excessive power loads. Converter problems involve failed diodes, worn brushes or overheated transformers.
RV AC Repair Near Me: Knowing When to Call Professionals
A faulty air conditioning unit ranks among the problems RVers fear most in warm weather. Check your power source first if your AC doesn't turn on. Look for tripped breakers or blown fuses. Verify you have enough power to run everything at once if you have multiple appliances using the same power source.
Still not working? A hard reset according to your unit manual comes next. You could have an issue with your circuit board or thermostat after resetting if you still don't have power. Check your warranty before attempting fixes yourself.
The system runs but doesn't blow cool air? This could just need a thorough cleaning. Dirty coils and fins cause inefficient air conditioners. Cleaning both and straightening any damaged fins carefully should help solve the problem. Your unit may be running low if it relies on Freon for cooling. Getting help from a professional proves vital in this case because of the dangers of Freon.
Refrigerant issues or leaks just need certified technicians, as handling refrigerant safely is regulated. Compressor and sealed-system work falls beyond DIY capability. Major electrical issues with the main electrical panel, complex wiring or repeated circuit breaker trips need professional diagnosis. Contact Pro Tech RV at 928-733-8850 for questions about your RV solar, electrical and repair questions.
Simple Electrical Safety for RV Owners
Never plug your RV directly into a campground power pedestal without first checking voltage, polarity and the outlet's condition. Campground power pedestals don't always deliver the standard 120 volts. Voltage below 105 volts causes appliances to draw excessive current and overheat. Voltage above 135 volts can destroy sensitive electronics. A surge protector with voltage monitoring stands as must-have equipment for safeguarding your RV's electrical system.
Reversed polarity creates a dangerous situation where hot and neutral wires are swapped in the outlet. This poses a serious shock hazard, as appliances remain energized even at the time switched off. A polarity tester before connecting identifies this hazard right away.
Never use a damaged or frayed power cord with your RV. Damaged cords can create dangerous arcing where electricity jumps across gaps in the wiring and generates intense heat that can ignite nearby materials. Inspect your power cord regularly, paying attention to the plug ends where stress concentrates.
GFCI outlets prevent electrocution by detecting ground faults. Many RVers make a dangerous mistake by resetting tripped GFCI outlets repeatedly without investigating why they tripped. GFCI trips often indicate serious issues like moisture infiltration, faulty appliances or damaged wiring. Test GFCI outlets monthly by pressing the "Test" button.
Professional inspections catch problems early. A certified rv technician can identify loose connections from travel vibration, detect damaged wiring insulation, assess circuit loads and verify that safety devices like breakers and GFCIs work properly. Regular electrical inspections remain vital for RV safety yet are neglected frequently in favor of more visible maintenance tasks.
Plumbing System Maintenance and Emergency Fixes
Identifying Common Plumbing Problems
Plumbing problems can disrupt your RV adventures. They often result from leaks, clogs, or faulty components. Road vibrations, weather changes, and regular use all contribute to plumbing system deterioration over time.
Leaks represent one of the most damaging issues you'll encounter. Road vibrations cause loose or broken connections. Worn-out or cracked pipes allow water to escape. The water pump can also create leak scenarios. Even a small leak causes major water damage if you don't address it right away. Inspect all visible connections around faucets, toilets, and water heaters. Tighten loose fittings or replace them if you need to. Damaged pipes or fittings require replacement with parts compatible with RV plumbing systems. Plumbing sealant or Teflon tape can patch minor leaks for now, but damaged parts need replacement as soon as possible.
Clogs present unique challenges because RV plumbing systems prove more sensitive than residential systems. Excessive toilet paper usage and non-biodegradable items in the toilet cause blockages. Food scraps and grease buildup in kitchen sinks also create problems. Hair accumulation in shower drains adds to the issue. Use RV-safe toilet paper that breaks down fast to reduce clog likelihood. Flush black and gray water tanks often to prevent solid buildup.
Freezing ranks as a serious concern in colder climates. Water in pipes can freeze when temperatures drop. This causes pipes to expand and potentially burst. The result is extensive water damage and repairs that get pricey. Pipes and tanks exposed to freezing temperatures without proper insulation suffer damage. Lacking antifreeze in the plumbing system during winter storage causes freeze damage too. Drain all water from your plumbing system before winter and add RV antifreeze to protect pipes. Wrap exposed pipes in pipe insulation if you travel in colder climates.
Water pressure problems create frustration. Low pressure from the campground's water source affects performance. Clogged or malfunctioning water pumps impact pressure. Sediment buildup in water lines or filters also plays a role. Use a water pressure regulator to balance pressure from campground sources. Inspect your water pump often and clean the filter, as sediment buildup restricts water flow.
Quick Emergency Plumbing Repairs
Keeping a simple plumbing repair kit proves very helpful. Include pipe tape, a drain snake, and plungers. Add biodegradable RV drain cleaners. Avoid harsh chemical drain cleaners, as they damage RV pipes and holding tank sensors.
Tighten fittings by hand for minor leaks at connections. You can also use appropriate tools for a quarter-turn. Replace worn washers and O-rings in faucets where you find moisture or mineral deposits. Always turn off your water pump and drain the system before you replace broken components.
Water pump issues require systematic troubleshooting. Confirm your battery is charged fully. Check that your freshwater tank is filled and the city water hose is disconnected. Make sure the pump switch is turned on. Open a faucet to place a load on the system. You should hear the pump running with water flowing from the faucet. Check the fuse in the distribution panel if the pump remains silent and no water flows. Pumps that cycle without stopping indicate leaks somewhere in the system.
When to Visit an RV Repair Shop
Many plumbing issues allow DIY fixes. But certain situations need professional help. Water heater problems with faulty valves, tank corrosion, or component failures require expertise. Freshwater and wastewater tank leaks from deteriorated seams or cracks need specialized repair. Loose fittings also require attention. Persistent water pump failures after basic troubleshooting indicate motor problems that require replacement by a certified RV technician. Searching for RV repair shops near you before problems get worse gives you options when issues arise on the road
Tire Inspection and Maintenance Schedule
Tires serve as your RV's sole contact with the road. Their condition is critical to safe travel. Tire pressure checks are the most important task. RV tires lose air at a rate of 2 to 3 psi per month during storage. Over-inflation and under-inflation both result in tire failure. Check and inflate tires when they're cold, before traveling more than one mile.
Inspect tires each time you enter your RV to avoid road issues. Bulges, cuts, and nails or screws lodged in tread are things to watch for. Check for anything caught between dual tires. Tire damage may not appear right after running over debris. Carcass damage can show up later. All tires need checking, especially inside duals.
Age matters more than appearance for RV tires. Most manufacturers recommend replacing tires between five and seven years after manufacture, whatever the mileage. Michelin states tires should be replaced if older than 10 years. The accepted time-out factor sits at seven years. The DOT number on tire sidewalls shows production date; the last four digits indicate the week and year. Weathering and cracking become concerns after several years. RV tires need replacement if cracks exceed 2/32-inch deep, especially if tire cord shows.
Tread depth needs measurement on a routine basis. A tread gage in tire grooves will tell you when to replace tires at 2/32 of an inch. You can insert a penny with Lincoln's head pointing down if you don't have a gage. Your tread is no longer deep enough if you see his entire head.
Brake System Warning Signs
Unusual sounds while braking just need attention right away. Metallic grinding or squeaking indicates worn brake pads or other problems. These noises accompanied by vibrations or braking performance changes require service. A soft or spongy brake pedal signals air trapped in brake lines or fluid leaks. Vibrations during stopping stem from warped rotors or uneven brake wear. Reduced stopping power indicates worn pads, contaminated fluid, or brake hardware problems. Leaking brake fluid beneath your trailer requires inspection.
Simple Engine Care for RV Owners
Oil changes are the foundations of engine longevity. Change oil every 3,000 to 5,000 miles, or once per year at minimum. Fresh oil keeps engines lubricated and reduces wear. It prevents overheating. Filters need equal attention. Oil, air, and fuel filters become clogged with dirt and debris over time. This reduces performance and fuel efficiency. Inspect and replace them according to your manufacturer's schedule.
The cooling system prevents overheating during long trips in hot weather. Check coolant levels and top them up as needed. Inspect the radiator, hoses, and coolant reservoir for leaks or damage. Clean battery terminals of corrosion. Make sure connections stay tight. Test battery charge and replace weak batteries. Belts and hoses wear out, crack, or become loose over time. This leads to engine problems. Replace them at first signs of wear.
Pay attention to unusual noises, vibrations, or decreased power. These symptoms point to issues needing immediate attention. Early detection prevents bigger problems and repairs that get pricey.
Generator Troubleshooting Tips
Lack of use and irregular monthly exercise cause most generator problems. Low battery voltage prevents starting because of insufficient charge, worn batteries, or corroded cables. Old or contaminated fuel gums up lines, filters, and carburetors. This causes clogged jets or stuck floats. Weak spark plugs result in hard starting and rough running.
Low oil level prevents starting on models that have low oil switches. Dirty air filters cause rich mixtures and smoking. Clogged carburetors prevent air-fuel mixing. Run generators under load for at least 30 minutes monthly. This keeps fuel lines clear and lubricates internal parts.
Choosing a Certified RV Technician
The RV Technical Institute offers certification that is recognized nationally. The curriculum was built with RV manufacturers. RVTAA-certified technicians undergo rigorous hands-on training and testing. Certified professionals follow standardized repair procedures that meet industry standards. They receive training in 12V and 120V electrical systems, troubleshooting battery issues and inverter failures. Certification gives accurate diagnosis and efficient repairs. It provides long-term solutions rather than temporary fixes.

Signs You Need an RV Mechanic
Rougher rides or excessive shaking signal suspension problems that require professional attention. Brake issues demonstrate themselves through longer stopping distances or squealing noises. Strange sounds like grinding, squealing, or thumping point to engine, suspension, or component failures. Persistent leaks inside or underneath your RV just need inspection right away. Strange smells including burning plastic, rotten eggs, or sulfur warn of gas leaks, electrical problems, or mold.
How to Choose the Best RV Repair Shop Near Me
With 11 million households owning RVs but only about 2,500 certified technicians available, you could wait months for repairs. Verify certifications from RVIA, NRVIA, or manufacturer-specific training. Read reviews on Google, Yelp, and RV forums for patterns in feedback. Request written estimates that break down labor and parts along with diagnostic fees. Look into warranty policies covering both parts and labor. Contact Pro Tech RV at 928-733-8850 for questions about your RV solar, electrical and repair questions.
Working with RV Service Technicians
Reliable shops provide updates throughout repairs. They inform you when additional work becomes necessary. Professional technicians explain repair options and answer questions without evasive responses.
Benefits of Certified RV Technician Training
Owners with proper training can repair 80% of problems. NRVTA trains people to work on their RVs or create mobile businesses helping other RVers.
Comparison Table
Comparison Table: 7 Critical RV Repair Tips
List Item | Main Goal | Key Maintenance Tasks | Common Problems | Recommended Frequency | Warning Signs | When to Seek Professional Help |
Essential Pre-Trip RV Inspection Checklist | Prevent damage and breakdowns through systematic checks before departure | Check tire pressure, fluid levels, hitch components, brakes, lights, interior latches, batteries and safety devices | Damaged steps, TV antennas, power cords and awnings; low fluid levels; loose connections | 30-50 minutes before every trip; professional inspection for extended trips | Low fluid levels, visible leaks, corroded battery terminals, batteries over 4-5 years old | Frame damage, internal water damage, electrical irregularities, transmission problems and persistent fluid leaks |
RV Roof Repair and Maintenance Essentials | Protect against leaks and weather damage to the roof | Check for cracks, dents and peeling, examine seals around vents, skylights and AC, reseal roof, use protective cover when not in use | Deteriorated seals, UV damage, physical damage from branches, aging materials and water leaks | Check at least twice a year (before and after winter), every 3 months and after long trips; reseal every 1-3 years | Cracks, dents, peeling, mold growth around AC unit, vents, roof rack, skylights, ladder mounts and gutters | Major damages and complex repairs; poorly executed repairs can lead to mold, mildew, dry rot and serious interior damage |
Electrical System Troubleshooting and RV AC Repair | Maintain electrical systems and AC functionality | Check voltage and polarity before connecting to power, examine power cords, test GFCI outlets monthly and clean AC coils and fins | Battery sulfation, overloaded circuits, faulty wiring, loose connections, inverter and converter failures, AC not cooling | Test GFCI outlets monthly; electrical inspections recommended on a regular basis | Discolored outlets, burning smells, tripped breakers, AC not turning on or not blowing cool air | Refrigerant issues, compressor work, major electrical panel issues and complex wiring problems; minor repairs USD 300-800, major repairs can exceed USD 1,000 |
Plumbing System Maintenance and Emergency Fixes | Prevent leaks, clogs and freeze damage in plumbing systems | Check connections, tighten fittings, flush tanks on a regular basis, use RV-safe toilet paper, drain system before winter and add antifreeze | Leaks from loose or broken connections, clogs from excessive toilet paper or grease, freezing pipes and water pressure problems | Check visible connections on a regular basis; flush tanks as needed | Small leaks, low water pressure, sediment buildup and water pump cycling without stopping | Water heater problems, freshwater and wastewater tank leaks, persistent water pump failures after simple troubleshooting |
Tire and Brake System Safety Checks | Ensure safe travel through proper tire and brake maintenance | Check tire pressure when cold, visual check for damage, measure tread depth and check brake performance | Tire pressure loss (2-3 psi/month), tire aging, worn brake pads, warped rotors and brake fluid leaks | Check tire pressure before every trip; visual check each time you enter the RV; replace tires every 5-10 years | Bulges, cuts, debris in tires, cracks over 2/32-inch deep, grinding or squeaking brakes, soft brake pedal and vibrations | Uneven braking, intermittent brake warnings, wiring issues in 7-way connector and persistent brake problems beyond simple maintenance |
Engine and Generator Maintenance Basics | Maintain engine and generator performance and longevity | Change oil, replace filters (oil, air and fuel), check coolant levels, clean battery terminals, examine belts and hoses, run generator under load | Clogged filters, cooling system leaks, worn belts and hoses, low battery voltage, old or contaminated fuel and dirty air filters | Oil changes every 3,000-5,000 miles or once a year; run generator under load for 30 minutes monthly | Unusual noises, vibrations, decreased power, hard starting, rough running and smoking | Complex engine problems; RVTAA-certified technicians trained in electrical systems, troubleshooting and standardized repair procedures |
Understanding When to Seek Professional RV Repair Services | Recognize when professional expertise becomes necessary | Verify technician certifications, read reviews, request written estimates and check warranty policies | Long wait times (only ~2,500 certified technicians for 11 million RV households), suspension problems and brake issues | Not mentioned | Rougher rides, excessive shaking, longer stopping distances, squealing noises, strange sounds (grinding or thumping), persistent leaks and strange smells (burning plastic, rotten eggs or sulfur) | Certified technicians (RVIA, NRVIA and manufacturer-specific training) needed for complex repairs; 80% of problems can be DIY with proper training |
Conclusion
Your RV stays road-ready when you know what to check and when to call professionals. You don't need to become skilled at every repair. These seven critical areas cover the fundamentals that prevent most breakdowns before they happen. In fact, 80% of problems can be handled with proper training and regular maintenance. Knowing your limits saves time and money over time.
Check simple things like tire pressure and fluid levels first. Work your way through more complex systems as your confidence grows. Professional inspections should be scheduled for anything beyond your skill level. Pro Tech RV can be reached at 928-733-8850 for expert guidance on repairs you'd rather leave to certified technicians.


Comments